1.创建项目并导入jar包。
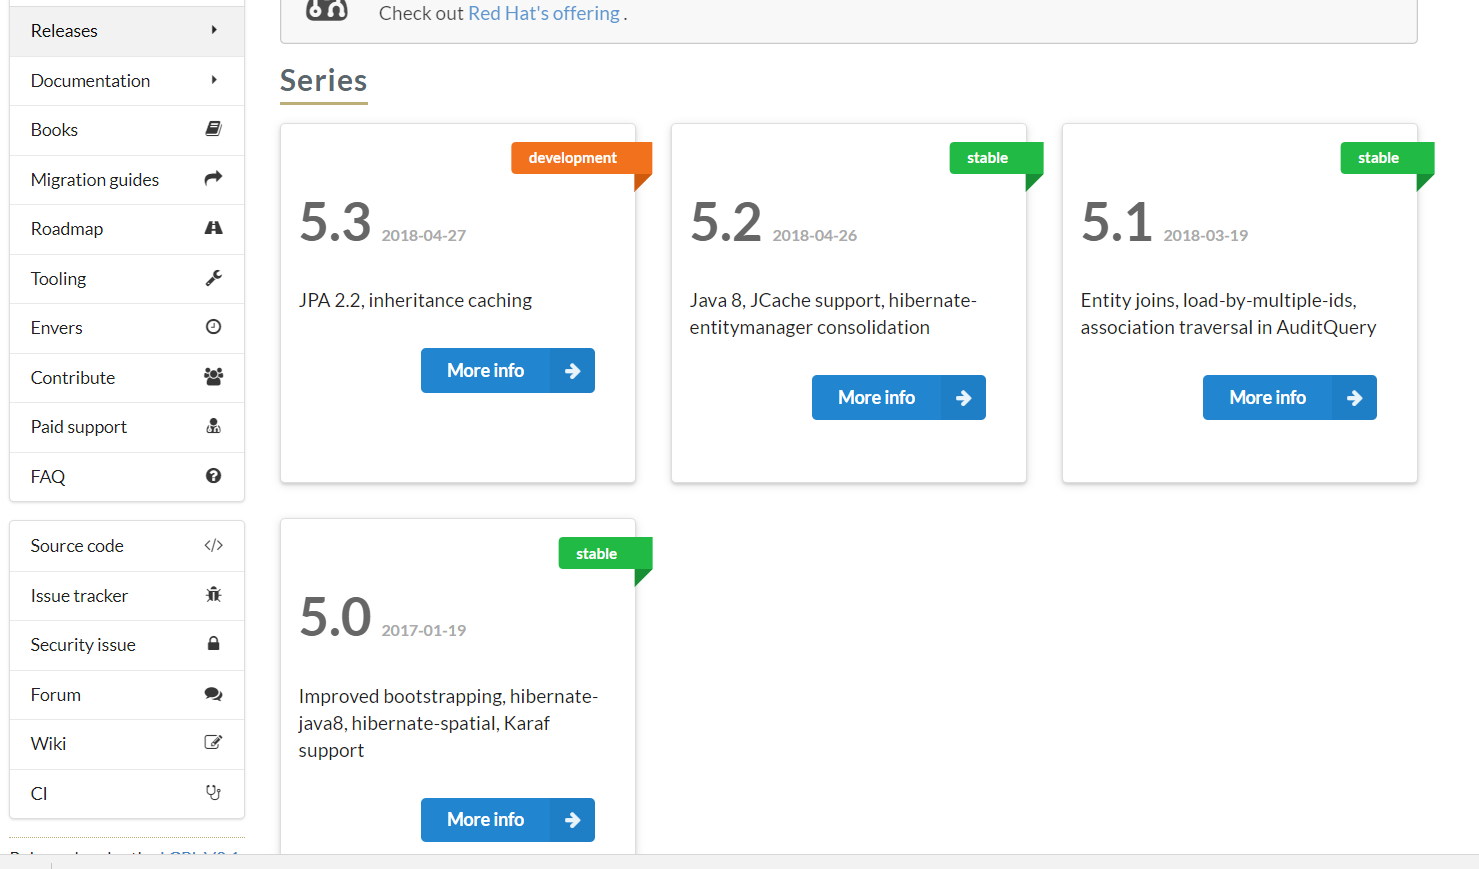
jar包可以从 http://hibernate.org/orm/releases/ 下载
这里有hibernate的多个版本,点击其中一个版本后,进入下载页面
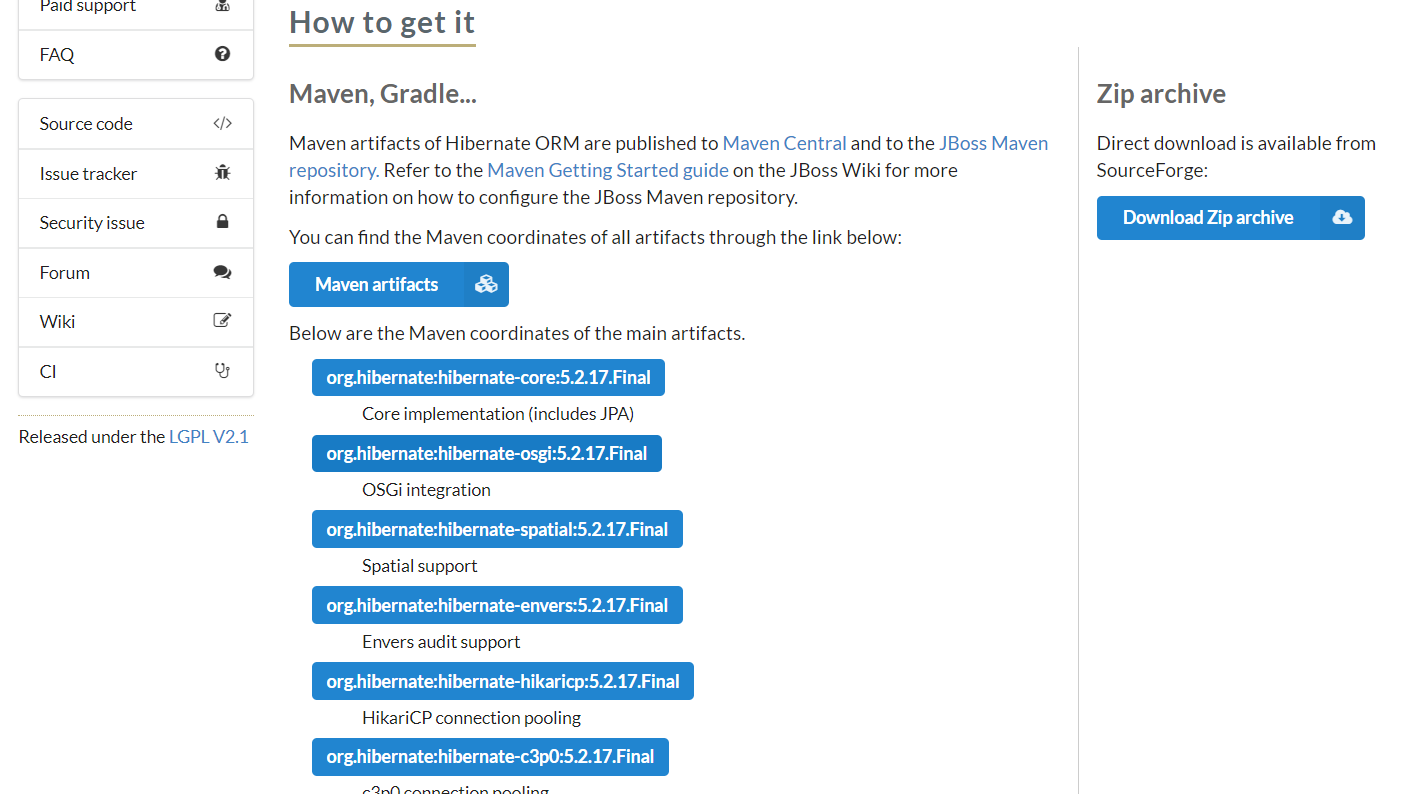
左边是maven用于maven项目,我下载的是右边的Zip Archive,这个包含了全部的jar包、源码、示例和帮助文档。
解压后找到lib文件夹,这里是hibernate的全部jar包,其中required里是核心jar包,把required里的jar包都导入项目中即可。此外,还要导入数据库驱动包。
#2.创建数据库及表
在mysql中创建一个名为“hibernate”的数据库,创建“paper”表
将id设为主键且自增。
第二步:编写实体类和映射文件
#1.编写试题类
Hibernate使用POJO来进行持久化,要求有与数据库表相对应的属性和getter、setter方法。
- package com.vo;
- public class People {
- private int id;
- private String name;
- private Integer age;
- public Integer getId() {
- return id;
- }
- public void setId(int id) {
- this.id = id;
- }
- public String getName() {
- return name;
- }
- public void setName(String name) {
- this.name = name;
- }
- public Integer getAge() {
- return age;
- }
- public void setAge(Integer age) {
- this.age = age;
- }
- @Override
- public String toString() {
- return "People [id=" + id + ", name=" + name + ", age=" + age + "]";
- }
- }
#2.编写映射文件People.hbm.xml
- <?xml version="1.0"?>
- <!DOCTYPE hibernate-mapping PUBLIC
- "-//Hibernate/Hibernate Mapping DTD 3.0//EN"
- "http://www.hibernate.org/dtd/hibernate-mapping-3.0.dtd">
- <hibernate-mapping package="com.vo">
- <class name="People" table="people">
- <id name="id">
- <generator class="native"/>
- </id>
- <property name="name"/>
- <property name="age"/>
- </class>
- </hibernate-mapping>
必须有id标签,generator设置主键生成策略,native是根据在identity、sequence、hilo三种生成器中选择。使用mysql时,native相当于identity。此时在mysql数据库中要将id设为自增长,否则出错。
第三步:编写核心配置文件
- <!DOCTYPE hibernate-configuration PUBLIC
- "-//Hibernate/Hibernate Configuration DTD 3.0//EN"
- "http://www.hibernate.org/dtd/hibernate-configuration-3.0.dtd">
- <hibernate-configuration>
- <session-factory>
- <property name="dialect">org.hibernate.dialect.MySQLDialect</property>
- <property name="connection.driver_class">com.mysql.jdbc.Driver</property>
- <property name="connection.url">jdbc:mysql://localhost:3306/hibernate</property>
- <property name="connection.username">root</property>
- <property name="connection.password"></property>
- <property name="show_sql">true</property>
- <property name="format_sql">true</property>
- <mapping resource="com/vo/People.hbm.xml"/>
- </session-factory>
- </hibernate-configuration>
dialect:数据库方言,用的是哪种数据库,要设置与之对应的数据库方言。在hibernate中我们不用编写sql语句,但是由于不同的数据库支持的sql有差别,所以要指定采用哪一种数据库的方言。
show_sql和format_sql:在控制台显示sql语句。
mapping:配置映射文件路径。
第四步:进行增删改查
#1.增和查
- package com.test;
- import org.hibernate.Session;
- import org.hibernate.SessionFactory;
- import org.hibernate.cfg.Configuration;
- import com.vo.People;
- public class TestHibernate {
- public static void main(String[] args) {
- Configuration configuration = new Configuration().configure(); //读取配置文件,如果配置文件hibernate.cfg.xml放于src目录下,则不用写配置文件的路径。
- SessionFactory factory = configuration.buildSessionFactory(); //创建工厂
- Session session = factory.openSession(); //得到一个Session
- session.beginTransaction(); //开启事务:增删改需要开启事务并手动提交;查 不需要开启事务。
- People p = new People(); //设置了自增长,不需要设置id
- p.setName("yang");
- p.setAge(10);
- session.save(p); //将对象p持久化
- session.getTransaction().commit(); //增删改操作需要手动提交
- session.get(People.class, 1); //查询id为1的people
- session.close(); //关闭Session
- }
- }
#2.改
- People p = new People();
- p.setId(1);
- p.setName("liu");
- p.setAge(20);
- session.update(p);
- session.getTransaction().commit();
#3.删
- People p = new People();
- p.setId(1);
- session.delete(p);
- session.getTransaction().commit();


